Wednesday, January 30, 2013

Week 3: Retro Make-up Bag


I've had this awesome retro fabric in my drawer for years and didn't really know what I was going to do with it. I almost got rid of it a few times because I wasn't convinced I would ever use it. Now it's a beautiful and functional make-up bag!


I cut my fabric and lining 9" wide by 8" tall. I first attached my zipper -the tricky part was getting everything going the right way. It's lining face up, zipper face up and then fabric face down. After I sewed that, I flipped it over and topstitched. I love a good topstitch. 

Then, with the fabric right-sides together and the lining right-sides together, I sewed all the way around, leaving about 2/3 of the bottom of the lining open. Then I sewed the corners flat to make a 2" bottom. My last few stitches were from the inside of the bag -to sew up the opening in the lining.

I decided not to follow a pattern or tutorial, so it took some figuring. It still came together quickly, all in one evening - about 2 hours?

What I enjoyed the most: I really do love rummaging through my scraps for projects, but most of all finally finding a purpose for this fun and vibrant fabric! 

Next time I would... I really want to make a boxy make-up bag, something like this. I even picked out the fabric and zipper in case I had enough time to make both. I would also love to add embellishment: Applique? Embroidery? A contrasting zipper? Or perhaps an interesting zipper pull?

Thursday, January 24, 2013

Week 3: A Cosmetic Bag


Why I want to make this: My old make-up bag is old and scuzzy. I have no idea where I got it or how long I’ve had it. I’m definitely due for a new one. And the one I use for when I travel is nothing special either - I think I picked it up at a garage sale.

Ideas & Inspirations: I’m thinking of just doing a simple one with a zipper and a flat bottom with some fun & colorful fabric. But I really like the boxy ones too! I’ve got some left over vinyl lining that I can use to make the inside easily wipeable and clean!

What I intend to do with said project: I will use it just about everyday and put my make-up in it. Finally time to retire the old one! And if I’m feeling really ambitious I’ll make a boxy one for when I travel.

Wednesday, January 23, 2013

Week 2: A Pretty and Cozy Cup

I'm posting late this week, so I'll keep it simple. I spent way too long over-analyzing my drawer of fabric scraps before deciding on a pretty floral remnant. And by remnant I mean that I had to piece it together to have enough to go around the cup.


I created a pattern by taping a piece of paper around my cup, placing my pencil flat on a book and rotating my cup around to create a nice straight line.

I also decided to add a touch of lace detailing. My lace was stark white and it looked weird next to the creamy tones in the fabric. So I brewed some tea and didn't drink it. I stuck my lace in there for about 5 minutes and then rinsed it out.


And lastly, as promised, I added some cute buttons. I have thousands of buttons and to be honest, I picked the first 2 that matched as I pulled them out of my jar. Yes, I also have a jar (or 2!) of buttons.

What I enjoyed the most: Dyeing the lace! It was quick and the results were great. Dyeing fabrics is really fun because you never really know how it's going to turn out.

Next time I would... Crochet or knit a cozy! I'm far more advanced with my sewing skills than I am with my crochet or knitting skills, but I'm willing to give it a go.

Wednesday, January 16, 2013

Week 2: A Coffee Cup Cozy


Just ignore the fact that I spelt cozy wrong. And admire my awesome roomie for her mad hand-modeling skills!

Why I want to make this: I drink a lot of coffee and have been known over the years to acquire coffee paraphernalia. I always thought cozies were cute, but had a hard time believing they were practical in any way. So...you care enough about the environment to carry a reusable coffee sleeve around in your purse, but you don’t care enough to carry a travel mug? Bottom line is that they are cute and I’ve gotten over the fact that they are not going to be all that functional.

Ideas & Inspirations: No particular inspiration. I’ve seen a lot of adorable ones over the years, but I have also seen some really unattractive ones. I hope to make an adorable one. Almost guaranteed it will have a button.

What I intend to do with said project: Carry it around in my purse and crack jokes every time I pull it out at a Starbucks?

Tuesday, January 15, 2013

Week 1: Notepads complete!


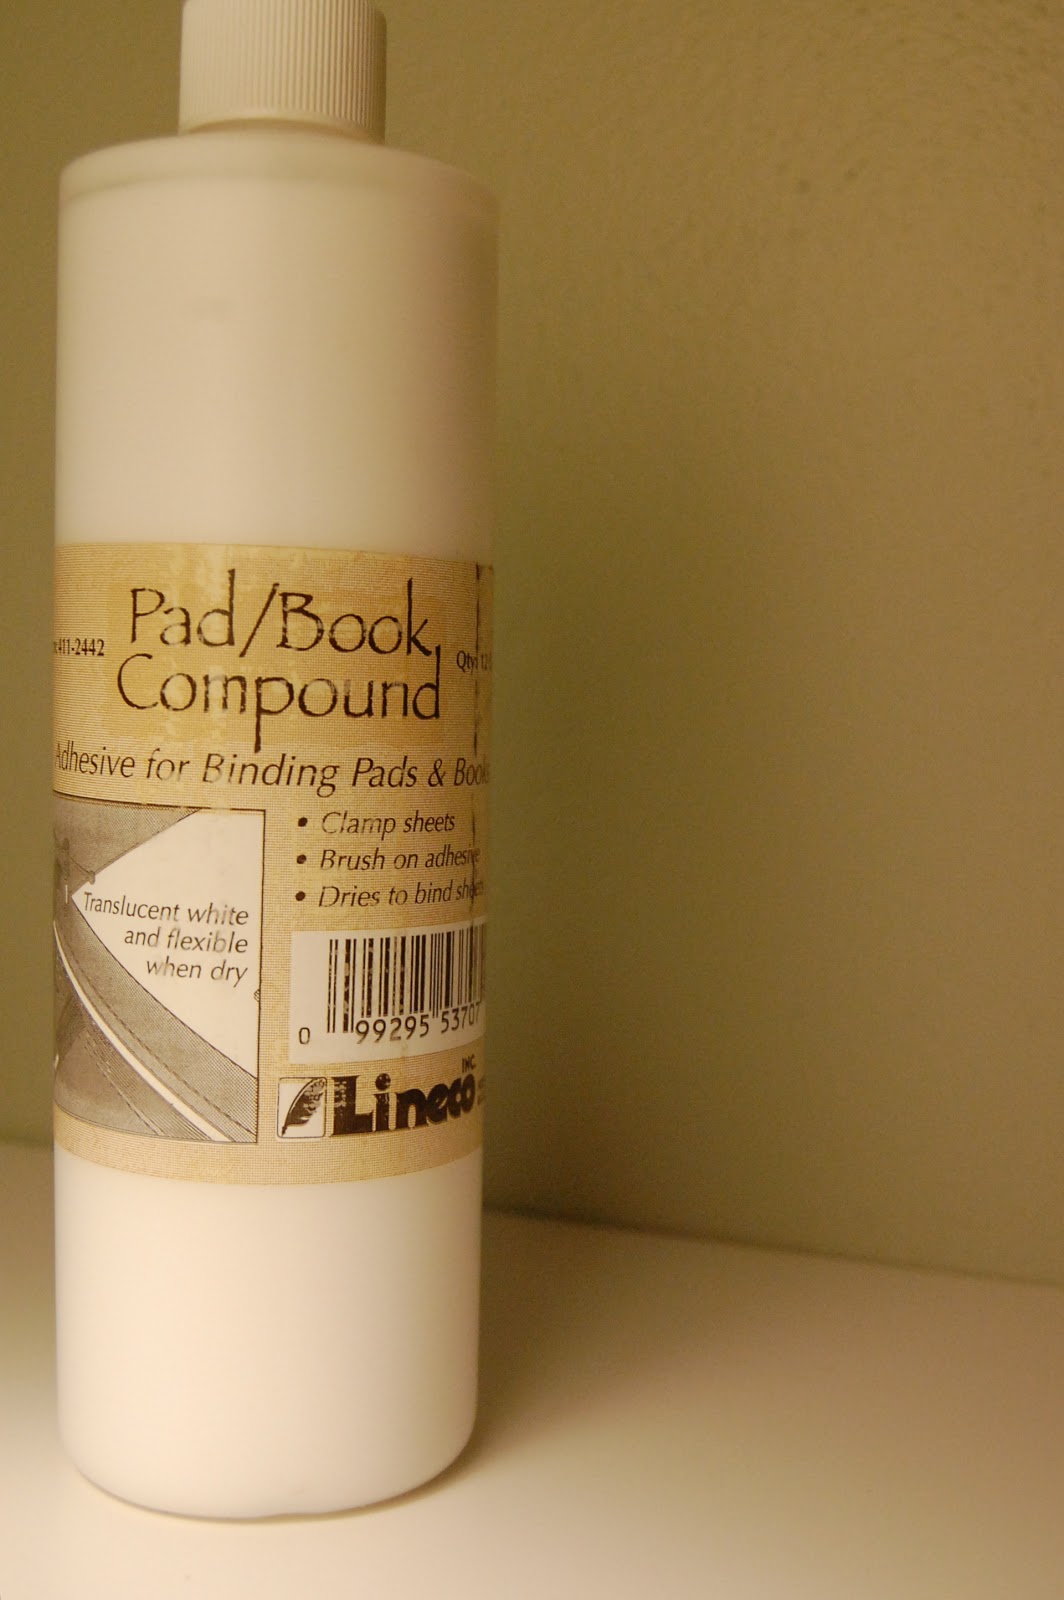
Step 1: Acquire “padding compound.”
Being frugal, I decided to explore other options. I did 2 small test notepadss: 1 with rubber cement and 1 with Mod Podge. The rubber cement felt sticky even after it dried overnight and the Mod Podge made it too easy to tear the pages away. I would have ordered some padding compound online, but I wasn’t sure if it would arrive in time. The internet was all like: “Its so hard to find” and “Normal stores don’t have it.” And I was like: “I’ll call my local art store!” And they were like: “We totally know what that obscure item is” and “We have 1 bottle left.” And I was like: “Thanks super awesome local art store!” Take that internet!


Step 2: Cut pages. 
I precisely cut some linear-themed scrapbooking paper in a 3 1/2” x 5 1/4” rectangle and used a corner punch to round out the bottom edges. 


Step 3: Cut a sturdy back. 
For the back I used chipboard that I had on hand (I think I got it from the Reuse Centre a while back). I used my precision knife to round out the corners because it didn’t fit in my corner punch! 


Step 4: Cut and create a cover. 
I selectively cut out a cover from heavier weighted paper. And if you are psychotic like me, you’ll decide that you want to stamp a word across the front page despite not having any letter stamps and proceed to create your own using funfoam, a stick and some double-sided tape!


Step 5: Line it up. 
I sandwiched my notepad in between 2 scrap pieces and lined it up neatly by tapping the the top edge on the table. I found it worked best to cut the scrap pages the same size as my notepad, it was a lot neater that way. 


Step 6: Clamp it up.
I used binder clips during my test-books, but desired something larger to secure my notepad. I ended up borrowing a wooden pant-hanger from a roomie. This worked pretty well on my first one, but for my 2nd and 3rd, I stepped it up and added some clamps. It was way more secure. It took a couple tries to enter my neat stack of paper into the clamp contraption without messing up my straight edge. And I accidentally clamped the 2nd one too tight, so it sort of left indents in my notebook. 


Step 7: Glue! 
The lady at the super awesome local art store warned me not to use my favorite brush with this product, so I opted for the elementary school variety with plastic bristles! The first coat was thin and the second was thicker. I didn’t need very much and it dried super quickly! 1/2 hour tops and 5-10 mins between coats. I’m happy I purchased the padding compound -the results were much prettier and stronger.


For my second one, I opted for lined paper that I ripped out of an outdated agenda and a brown paper cover with fabric and embroidered monogram. I originally planned to embroider the fabric, but my stash of scraps revealed something much better, so then I embroidered the cover itself. This one is my favorite.


For the 3rd one, I was inspired by my scraps to create a longer skinnier list-making notepad. For the cover, I glued some patterned paper onto some cardstock for a strong cover and added a complementary paper band over the binding.

What I enjoyed the most: 
I liked rummaging around in my paper scraps and coming up with various combinations of colours, styles and shapes. I also really enjoyed embroidering on paper -I had never done that before. It was lots of fun and I was super pleased with the result.

Next time I would...
Be more creative in using recycled pages. I thought my old notepages rescued from an old agenda were a good start. I would also love to play around with different shapes, like circles!

Wednesday, January 9, 2013

Week 1: Make Notepads


I must say I was afraid that the first project I pulled out of the jar was going to make a lame-sauce first week on the blog. But I’m quite pleased with the results.


I’m cool and insisted on having freshly painted nails for this picture. First impressions, right? Next time I think I’ll just paint the thumb.

Why I want to make this: I have a drawer full of paper and I rarely use any of it! I'm excited by the endless variations of this project. And lastly, I love detailed work - the thought of meticulously cutting hundreds of pieces of paper sounds like a whole lot of fun to me.

Ideas & Inspirations: Several weeks ago I stumbled on this project, making little notepads with tear-away sheets using a mysterious substance known as ‘padding compound.’ I was intrigued and excited about the possibilities. I’m thinking of adding fabric with an adorable embroidered design.

What I intend to do with said project: I’m an avid list maker and keep a notepad near when I’m crafting. It would be fun to have some fun ones to keep my creative juices flowing. I could also make one to take to work - my office could really use some colour. And why not add a magnet to one and have a handy dandy fridge pad?

Ooooooh the possibilities! I’ll post the finished product on Tuesday, but am hoping to have a bonus post or two before then, so check back soon!

Tuesday, January 8, 2013

Cordial Greetings

Welcome to my first post on the new blog. It’s a beautiful road we are headed down.

I’ve been crafting my whole life and I am seeking to challenge myself creatively. Too often my creative energy has been spent on others. Don’t get me wrong, I love handmade gifts, but I want to enjoy the things I create just as much as I enjoy making them. I want to create without the pressure of whether or not someone is going to like what I have made. Which...is why I have a blog, right? Well, at least I have someone/something to be accountable to!


I have written a grand number of projects (38 and counting!) on strips of paper and plopped them inside a cutely decorated jar. Each week I will draw a project from the jar and complete it before the week is up. I do love making lists, but this way is much more fun because each week it will be a SURPRISE! Projects range from things I have put off, to things I have never made and wanted to try, to things I’ve made lots but always for someone else.

I hope to post a few little bonuses along the way and have no shortage of ideas. I’ll pick and post my first project tomorrow.