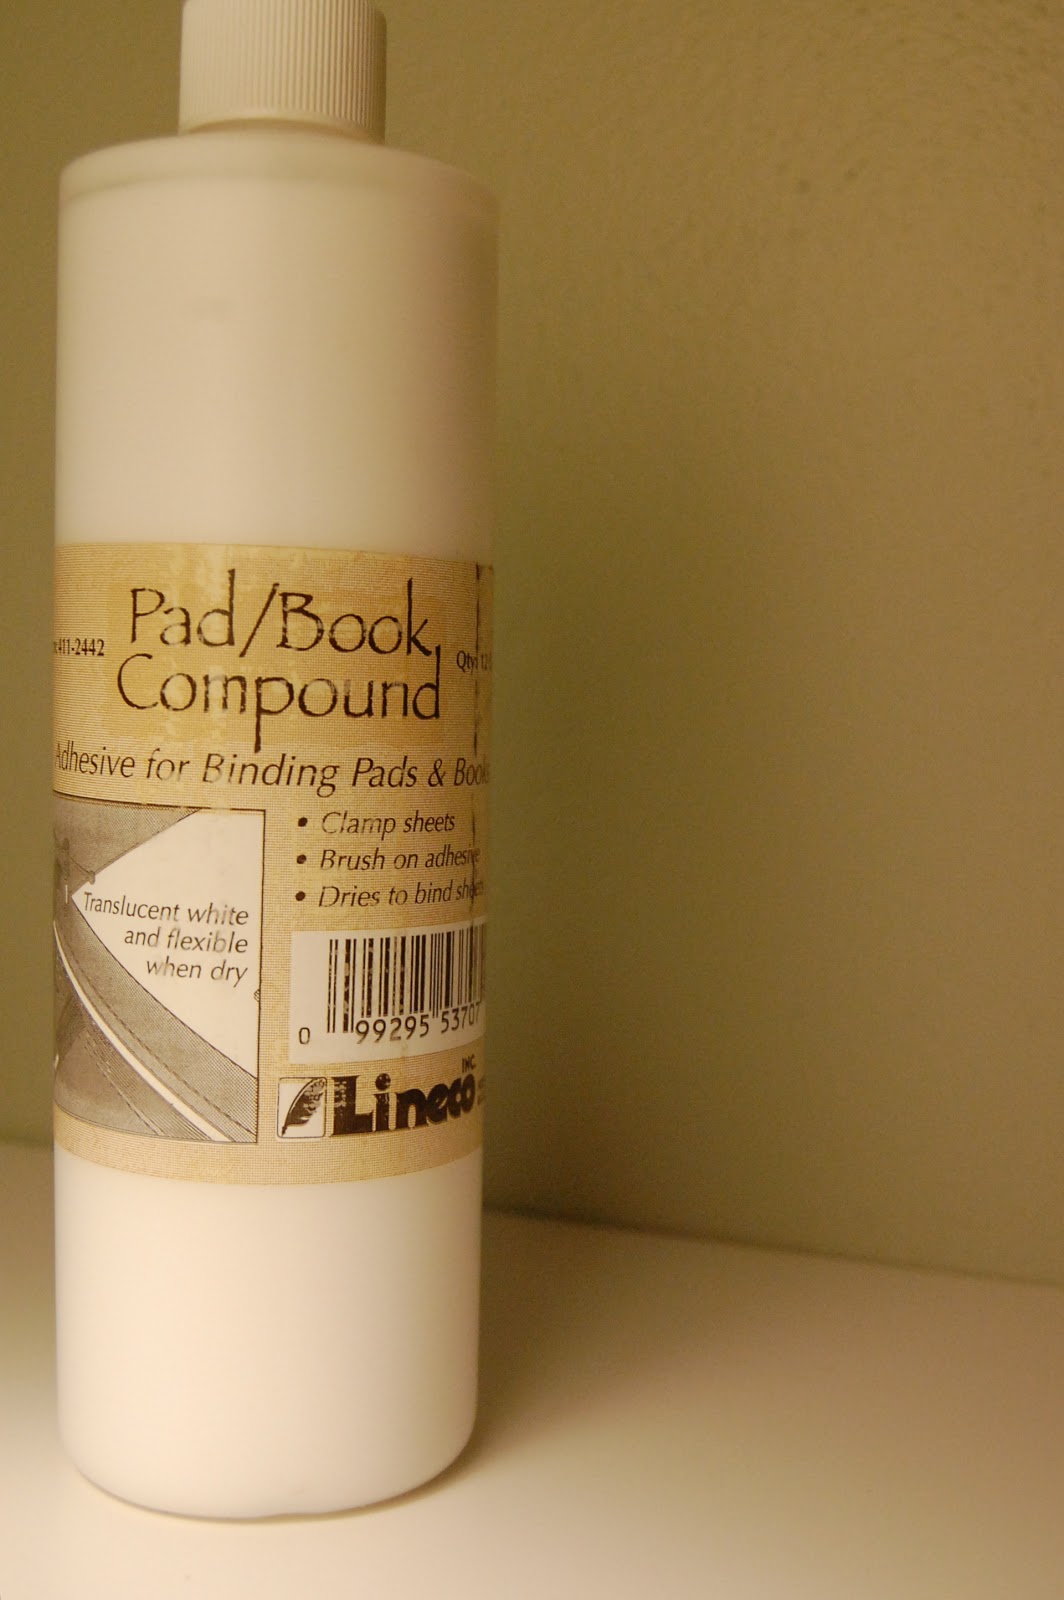
Step 1: Acquire “padding compound.”
Being frugal, I decided to explore other options. I did 2 small test notepadss: 1 with rubber cement and 1 with Mod Podge. The rubber cement felt sticky even after it dried overnight and the Mod Podge made it too easy to tear the pages away. I would have ordered some padding compound online, but I wasn’t sure if it would arrive in time. The internet was all like: “Its so hard to find” and “Normal stores don’t have it.” And I was like: “I’ll call my local art store!” And they were like: “We totally know what that obscure item is” and “We have 1 bottle left.” And I was like: “Thanks super awesome local art store!” Take that internet!
Step 2: Cut pages.
I precisely cut some linear-themed scrapbooking paper in a 3 1/2” x 5 1/4” rectangle and used a corner punch to round out the bottom edges.
Step 3: Cut a sturdy back.
For the back I used chipboard that I had on hand (I think I got it from the Reuse Centre a while back). I used my precision knife to round out the corners because it didn’t fit in my corner punch!
Step 4: Cut and create a cover.
I selectively cut out a cover from heavier weighted paper. And if you are psychotic like me, you’ll decide that you want to stamp a word across the front page despite not having any letter stamps and proceed to create your own using funfoam, a stick and some double-sided tape!
Step 5: Line it up.
I sandwiched my notepad in between 2 scrap pieces and lined it up neatly by tapping the the top edge on the table. I found it worked best to cut the scrap pages the same size as my notepad, it was a lot neater that way.
Step 6: Clamp it up.
I used binder clips during my test-books, but desired something larger to secure my notepad. I ended up borrowing a wooden pant-hanger from a roomie. This worked pretty well on my first one, but for my 2nd and 3rd, I stepped it up and added some clamps. It was way more secure. It took a couple tries to enter my neat stack of paper into the clamp contraption without messing up my straight edge. And I accidentally clamped the 2nd one too tight, so it sort of left indents in my notebook.
Step 7: Glue!
The lady at the super awesome local art store warned me not to use my favorite brush with this product, so I opted for the elementary school variety with plastic bristles! The first coat was thin and the second was thicker. I didn’t need very much and it dried super quickly! 1/2 hour tops and 5-10 mins between coats. I’m happy I purchased the padding compound -the results were much prettier and stronger.
For my second one, I opted for lined paper that I ripped out of an outdated agenda and a brown paper cover with fabric and embroidered monogram. I originally planned to embroider the fabric, but my stash of scraps revealed something much better, so then I embroidered the cover itself. This one is my favorite.
For the 3rd one, I was inspired by my scraps to create a longer skinnier list-making notepad. For the cover, I glued some patterned paper onto some cardstock for a strong cover and added a complementary paper band over the binding.
I liked rummaging around in my paper scraps and coming up with various combinations of colours, styles and shapes. I also really enjoyed embroidering on paper -I had never done that before. It was lots of fun and I was super pleased with the result.
Next time I would...
Be more creative in using recycled pages. I thought my old notepages rescued from an old agenda were a good start. I would also love to play around with different shapes, like circles!


